The Russian Join is a great method for splicing together yarn. You can use it in the middle of a project to join in new yarn without weaving in ends later, or you can use it to organize your smaller bits of stash yarn to create a “magic yarn ball.” It’s a fairly straightforward process, but it can be a bit tricky to hold and navigate with a tapestry needle. Follow along with the photos below for a step-by-step tutorial on this joining method.
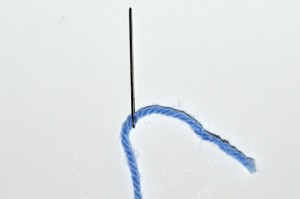
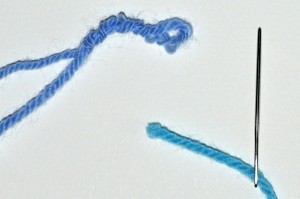
- To splice yarn together with the Russian Join, first thread a tapestry needle or small yarn needle with one of the yarns.
![1Russian Join Tutorial 1]()
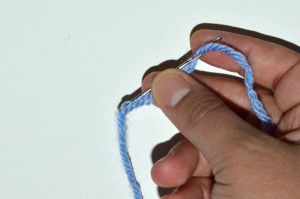
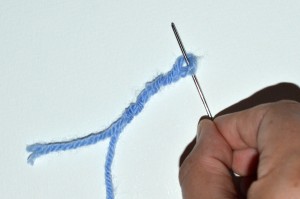
- Gently insert the tapestry needle into the yarn, so that it goes inside of the plies.
![1Russian Join Tutorial 2]()
![1Russian Join Tutorial 3]()
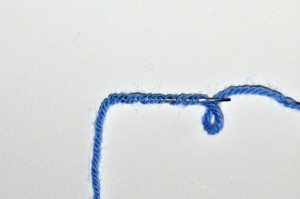
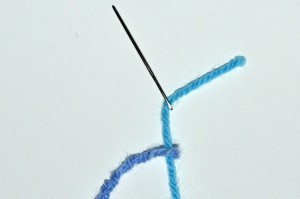
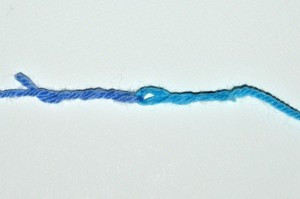
- Remove the tapestry needle slowly, while holding onto the small loop of yarn. This may be challenging at first.
![1Russian Join Tutorial 4]()
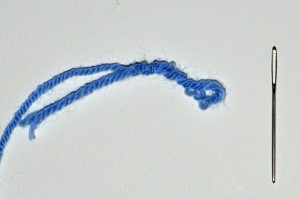
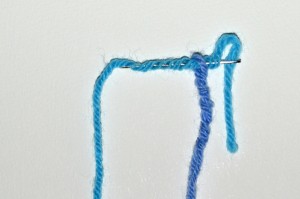
- Now thread the tapestry needle with the other yarn.
![1Russian Join Tutorial 5]()
- Insert the needle into the small loop of the first yarn.
![1Russian Join Tutorial 6]()
- Pull the new yarn through the loop.
![1Russian Join Tutorial 7]()
- Gently insert the tapestry needle into the yarn, so that it goes inside of the plies.
![1Russian Join Tutorial 8]()
- Slowly remove the tapestry needle. You do not need to hold onto the loops this time.
![1Russian Join Tutorial 9]()
- Trim away the excess yarn tails.
![1Russian Join Tutorial 10]()

The section of yarn with the Russian Join will be slightly thicker than other parts of the yarn, but in most cases will not be visible in your finished project. You may find it necessary to trim away excess yarn tails again after crocheting, as some may emerge after you start stitching.
When creating a magic yarn ball, choose yarns to splice together that have the same fiber content or care instructions. You can splice yarns together randomly, or plan your colors so that your finished yarn ball is more harmonious looking.
Have you used this technique before? What do you think? Tell us on our Facebook page!

The post Russian Joining: A How To appeared first on I Like Crochet.